
TL;DR:
- Proper bottle cleaning requires disassembly, thorough scrubbing, rinsing, and air-drying after every use.
- Using a dishwasher on a hot cycle with proper placement offers a safe, time-efficient cleaning method.
- Routine sanitizing is essential for newborns and immunocompromised infants but may be unnecessary for healthy babies over three months.
Every bottle your baby uses carries a simple but serious responsibility: it must be genuinely clean, not just rinsed. Milk residue left inside a bottle or nipple can grow harmful bacteria within hours, putting your newborn at real risk of illness. According to the CDC, clean bottles after every use by separating all parts, rinsing, washing, and air-drying on a clean surface. This guide gives you the exact supplies, clear steps, and expert-backed advice you need to feel confident that every bottle is genuinely safe for your baby.
Table of Contents
- What you’ll need: Essential supplies for safe bottle cleaning
- Step-by-step: How to clean baby bottles by hand
- Using the dishwasher: Safe and effective washing options
- Sanitizing and sterilizing: When and how to go the extra mile
- Proper storage and maintenance for ongoing safety
- What most guides miss: Real-life shortcuts and peace of mind
- Baby-safe cleaning and feeding essentials from Skin Styles
- Frequently asked questions
Key Takeaways
| Point | Details |
|---|---|
| Clean after every use | Wash bottles and parts every time to keep your baby safe and healthy. |
| Know when to sterilize | Sterilization is crucial for newborns or high-risk babies, but routine cleaning is often enough for older infants. |
| Air drying prevents germs | Let bottles and parts air dry on a clean rack to avoid recontamination. |
| Use baby-safe cleaners | Choose gentle, non-toxic soaps to protect your baby’s sensitive system. |
| Maintain your supplies | Clean bottle brushes and storage gear regularly for complete hygiene. |
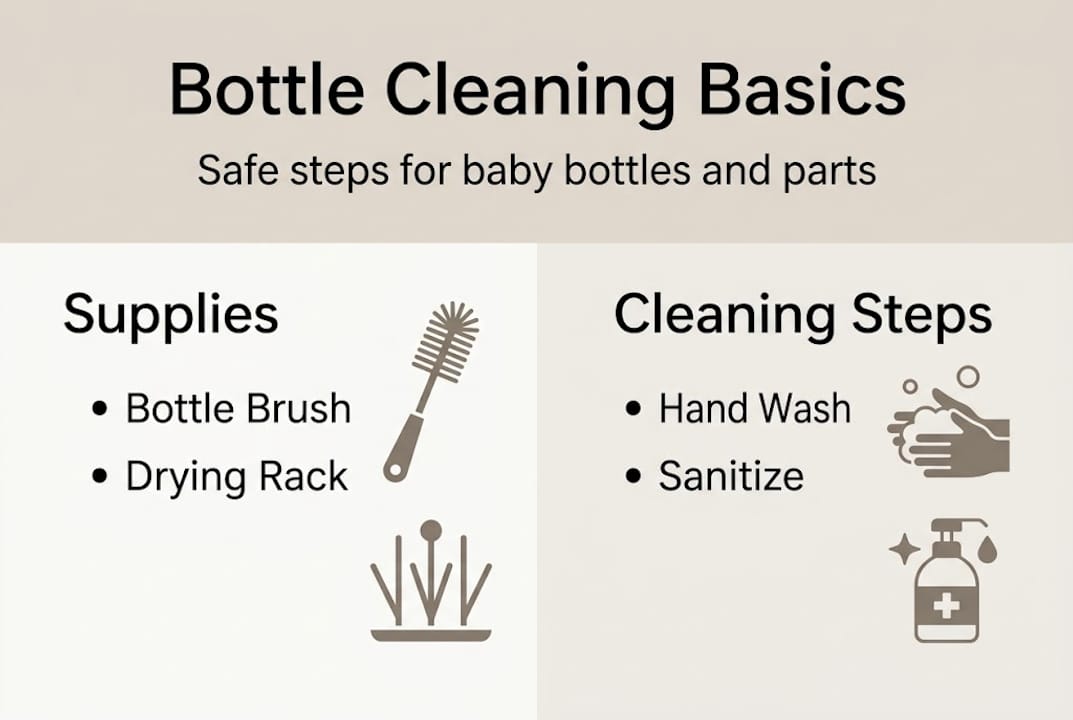
What you’ll need: Essential supplies for safe bottle cleaning
With the stakes established, let’s look at what you need before you start cleaning. Having the right tools on hand makes the process faster and much more effective. Skipping even one item, like a dedicated brush, can leave hidden residue that you simply cannot see.
Handwashing comes first. Before you touch any bottle part, wash hands thoroughly to prevent contamination. This step costs you nothing but thirty seconds, and it dramatically reduces the number of bacteria transferred to clean equipment. Use warm water and soap, and scrub for at least twenty seconds.
Here is a quick look at everything you need and why each item matters:
| Supply | Purpose | Key detail |
|---|---|---|
| Bottle brush | Scrubs inside bottle walls | Use only for bottles, not dishes |
| Nipple brush | Cleans inside nipples and valves | Sized for small openings |
| Mild liquid soap | Breaks down milk fat | Must be non-toxic and fragrance-free |
| Clean basin or bowl | Holds soapy wash water | Dedicated to baby items only |
| Drying rack | Holds parts upright for air-drying | Keeps items off countertops |
| Hot running water | Rinses soap and residue | As hot as your faucet allows |
Why gentle soap matters. Babies are exposed to trace amounts of whatever cleaning product you use on their bottles. Harsh detergents with heavy fragrances or antibacterial chemicals can leave residue that irritates a baby’s sensitive digestive system. Choosing gentle, non-toxic cleansers specifically formulated for baby items reduces that risk significantly. Look for labels that say “baby-safe,” “free and clear,” or “fragrance-free.”
- Use a dedicated basin reserved only for baby feeding equipment
- Keep your bottle brush separate from your dish-washing brush at all times
- Replace a sponge-tipped bottle brush with a bristle brush, since sponges trap bacteria easily
- Air-drying on a rack is safer than using a dish towel, because towels carry germs even when freshly laundered
Pro Tip: Set up a permanent cleaning station near the sink with everything you need already in place. When you’re sleep-deprived at 2 a.m., having supplies organized and ready cuts the cleaning time in half and removes the temptation to skip steps.
Step-by-step: How to clean baby bottles by hand
With your supplies ready, here’s how to safely clean bottles after each use. Hand washing is the gold standard for everyday bottle cleaning because you control every surface you touch. It takes about four minutes per bottle when you have a routine down.
- Disassemble completely. Take the bottle apart into every single component: bottle, nipple, collar ring, cap, and any valves or straw pieces. Bacteria thrive in tight spaces between assembled parts.
- Rinse immediately under cool water. Cool water prevents milk proteins from bonding to the plastic. Rinse each part separately under the tap before any soap touches it. This also loosens dried milk quickly.
- Fill your basin with hot, soapy water. Use the hottest water your faucet provides. Add a few drops of mild baby-safe soap and swirl to create suds. Never share this basin with regular dish washing.
- Scrub every surface. Use your bottle brush to scrub the inside walls, base, and neck of the bottle. Use your nipple brush to push through the nipple tip opening several times. Scrub collars, rings, and caps thoroughly on every surface.
- Rinse every part again. Run each piece under hot running water until no soap remains. Separating all parts for rinsing ensures no soapy residue is left behind, which can upset a baby’s stomach.
- Air-dry on a clean rack. Place all parts upside down or at an angle on your drying rack. Allow them to dry completely before reassembling or storing.
Safety note: Do not pat dry with towels to avoid germ transfer. Even a freshly laundered dish towel carries microbes that can recontaminate clean bottle parts. Air drying is always the safer choice.
If you cannot wash bottles right away after a feeding, rinse every part under cool water and store them submerged in clean, cold water until you can wash them fully. Do not let milk sit unrinsed for more than an hour, especially in warm environments.
Cleaning also covers everything attached to the bottle. Nipples deserve particular attention since they have a small hole that is easy to miss. Squeeze soapy water through the nipple tip while holding it under the faucet, then use your nipple brush to push through the opening. You can also learn more about thorough cleaning routines in our feeding set hygiene guide.
Pro Tip: Clean your bottle brush and drying rack at least every other day. Submerge the brush in boiling water for five minutes twice a week to kill bacteria that collect in the bristles.
Using the dishwasher: Safe and effective washing options
Sometimes, the dishwasher makes life easier. Here’s how to use it safely for bottle cleaning. Most modern dishwashers can handle baby bottles effectively, but there are a few rules you cannot skip.
| Step | What to do | Why it matters |
|---|---|---|
| Disassemble | Separate all parts before loading | Allows water to reach every surface |
| Placement | Top rack or mesh bag | Keeps parts away from intense bottom heat |
| Cycle | Hot water cycle with heated dry | Maximizes germ reduction |
| Sanitizing option | Use if available | Adds an extra layer of protection |
| After cycle | Air-dry any remaining moisture | Prevents bacterial regrowth |
Place bottle parts in the top rack or a mesh bag and run a hot water cycle with heated drying for the best results. Small parts like nipples and valves can fall through the rack and melt near the heating element at the bottom, so a fine mesh bag designed for bottle parts is a worthwhile investment.
Pros and cons of dishwasher cleaning:
- Time-saving: You can wash a full day’s worth of bottles in one cycle
- Hands-free: No scrubbing required for lightly soiled bottles
- Consistent heat: Dishwashers reach temperatures that reduce bacteria effectively
- Limitation: Not all bottle materials are dishwasher-safe, check the manufacturer’s label first
- Limitation: Dried milk can survive a dishwasher cycle if not rinsed beforehand
One important distinction parents often ask about: a dishwasher sanitizes, but it does not fully sterilize. Dishwashers sanitize at 65 to 82 degrees Celsius, while true sterilization requires 100 degrees Celsius, which is the boiling point of water. For healthy babies over three months, dishwasher sanitizing is generally sufficient. For younger or higher-risk infants, you need to go further.
If your dishwasher does not have a sanitizing or heated dry option, run the hottest cycle available and then allow parts to fully air-dry. You may also want to follow up with a sterilization step covered in the next section. Explore our tips for mess-free feeding solutions alongside dishwasher-safe equipment that simplifies your entire routine.
Sanitizing and sterilizing: When and how to go the extra mile
Hand washing and dishwashers cover most needs, but some families should sanitize bottles as an extra precaution. Understanding when to step up your cleaning routine protects your baby without causing you unnecessary stress.
Who needs routine sanitizing? Sanitize daily or more frequently if your baby is under 2 months old, was born prematurely, or has a weakened immune system. These babies have limited ability to fight off infections, so the extra step is genuinely important.
For older, healthy infants, the picture is clearer. Thorough cleaning is sufficient for healthy babies over 3 months old. Sterilization is primarily recommended for newborns and immunocompromised infants. That said, many health organizations advise a longer window.
NHS guidelines recommend sterilizing until 12 months to reduce the risk of infections like diarrhea. If your family wants an added layer of protection, continuing sterilization through the first year is a perfectly reasonable choice.
Here is a comparison of the three main sanitizing methods:
| Method | How it works | Pros | Cons |
|---|---|---|---|
| Boiling | Submerge in boiling water for 5 minutes | Free, no equipment needed | Can damage some plastics over time |
| Steam sterilizer | Electric or microwave unit creates steam | Fast, purpose-built, consistent | Upfront cost for the appliance |
| Bleach solution | 2 teaspoons bleach per gallon of water | Effective, low-cost | Requires careful rinsing and measuring |
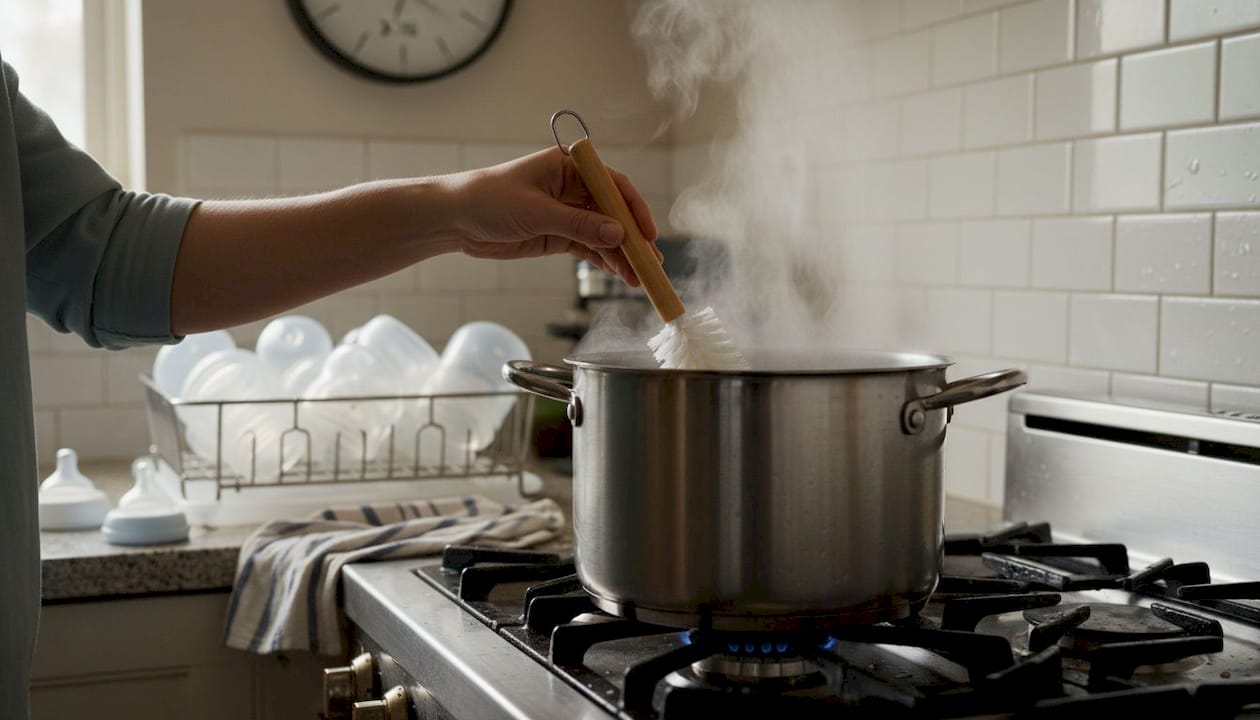
How to sanitize by boiling:
- Place all clean bottle parts in a large pot and cover completely with water
- Bring to a full rolling boil
- Keep boiling for at least five minutes
- Use clean tongs to remove parts and place them on your drying rack
- Allow to air-dry completely before storing
How to sanitize with a bleach solution:
- Mix 2 teaspoons of unscented bleach with 1 gallon of water
- Submerge all cleaned parts and let them soak for at least two minutes
- Remove with clean tongs and place on your rack
- Do not rinse. The bleach naturally breaks down and becomes safe as parts dry
For more context on what cleaning products are safe for your family, visit our guide on baby skincare and bottle cleaning to understand ingredient safety in everyday products.
Proper storage and maintenance for ongoing safety
After cleaning, storing items the right way keeps bottles safe until their next use. A spotlessly clean bottle stored in a damp cupboard can pick up mold and bacteria just as easily as a dirty one.
Where and how to store clean bottles:
- Allow parts to air-dry completely before reassembling or storing, even a small amount of trapped moisture breeds bacteria quickly
- Store assembled or loosely placed bottles in a clean, dry cabinet away from raw food
- Do not stack bottles in a way that traps moisture between them
- Keep bottles away from areas of the kitchen that generate steam, like the area directly above the stovetop
- Store clean bottles in a dedicated container rather than loose on a shelf where they can pick up dust or spills
Daily maintenance checklist for your cleaning tools:
- Wash and sanitize your bottle brush, basin, and drying rack regularly, daily for high-risk infants
- Rinse the basin after every wash session and allow it to dry completely
- Hang your bottle brush so air can circulate around all the bristles
- Check your drying rack for cracks or mold buildup and replace it if you spot either
Signs that an accessory needs replacing include cracked or cloudy plastic that cannot be cleaned properly, nipples that are sticky, discolored, or torn, and brushes that have splayed, bent, or missing bristles. When in doubt, throw it out. Replacement accessories are inexpensive compared to even one sick-baby doctor visit. For more on building an effective daily routine, see our top baby feeding tips for additional strategies that keep feeding time safe and simple.
Pro Tip: Replace your bottle brush every four to six weeks, or sooner if bristles start to spread out. A worn brush cannot reach the seams inside a bottle where bacteria like to hide most.
What most guides miss: Real-life shortcuts and peace of mind
Here at Skin Styles, we hear from a lot of parents who feel genuine anxiety about whether they are cleaning bottles “correctly enough.” We understand that instinct. But after seeing how much stress parents carry over tiny details, we want to be honest with you about something most guides skip.
The biggest risk with bottle cleaning is not slightly imperfect scrubbing. It is skipping the wash entirely, using visibly dirty equipment, or letting milk sit unrinsed for hours. Those are the actual danger zones. A bottle that was washed carefully but not boiled afterward is vastly safer than one that was “rinsed quickly.”
You do not need a hospital-grade sterilizer for every single feed if your baby is healthy and over three months old. What you need is consistency: wash after every use, use clean tools, and air-dry everything. The shortcuts worth skipping include using a bath towel to dry parts, sharing your bottle brush with your regular dishes, and skipping the nipple cleaning because it looks fine. Those are genuinely risky.
The shortcut that is actually safe? A dishwasher with a hot cycle handles most of the work for you. That is not cutting corners. That is a tool designed for exactly this purpose. Check your routine against hygiene in family routines and focus your energy on consistency, not perfection.
Baby-safe cleaning and feeding essentials from Skin Styles
If you’re looking for more peace of mind, Skin Styles has you covered with a curated selection of baby-friendly feeding products designed to make safe cleaning easier from the start.

Our 8-piece silicone baby feeding set is BPA-free, made from food-grade silicone, and built to withstand both hand washing and dishwasher cycles without warping or cracking. When your current bottles, nipples, or accessories show signs of wear, upgrading to easy-to-clean, non-toxic designs removes one more worry from your day. Browse our baby feeding essentials and find the tools that fit your family’s routine.
Frequently asked questions
How often should I clean baby bottles?
Clean baby bottles after every single use to remove milk residue and prevent harmful bacteria from growing inside the bottle or nipple.
Do I always need to sterilize baby bottles?
Not always. Daily sanitizing is necessary for babies under 2 months or those who are premature or immunocompromised, but thorough cleaning is enough for healthy babies over three months old.
Can I use the dishwasher to clean baby bottles?
Yes. Place bottle parts in the top rack or a mesh bag and run a hot water cycle with heated drying for safe and effective cleaning.
How should I store clean bottles?
Air-dry all parts thoroughly before storing, and place them in a clean, dry cabinet away from moisture and steam to prevent bacterial regrowth.
How do I clean bottle brushes and drying racks?
Sanitize bottle brushes, basins, and drying racks regularly, every day for high-risk infants, and replace brushes every four to six weeks or when bristles begin to wear out.