
Finding time for self-care can feel complicated when you want results for both healthy skin and less stress. Regular face washing with gentle cleansers and lukewarm water sets the stage for an effective facial massage that supports a radiant complexion and relaxation. This guide breaks down easy techniques and essential product tips so you can create a soothing skincare routine and discover what tools, oils, and steps smooth, relax, and rejuvenate every area of your face.
Table of Contents
- Step 1: Gather Tools And Cleanse Your Face
- Step 2: Apply Recommended Massage Oils Or Creams
- Step 3: Stimulate Pressure Points And Forehead
- Step 4: Massage Cheeks, Jawline, And Chin
- Step 5: Rejuvenate Eye Area And Finish With Neck
Quick Summary
| Key Point | Explanation |
|---|---|
| 1. Cleanse Your Face Properly | Use a gentle cleanser and lukewarm water for effective skin preparation before massage. |
| 2. Select Suitable Oils/Creams | Choose massage oils that match your skin type and provide multiple benefits like hydration. |
| 3. Focus on Pressure Points | Target specific points on the forehead to relieve tension and boost circulation during your massage. |
| 4. Use Gentle Techniques | Apply light, consistent pressure on cheeks, jawline, and chin to release muscle tension and improve contours. |
| 5. Pay Attention to Eye and Neck | Employ soft motions around the eyes and neck to enhance hydration and reduce signs of aging. |
Step 1: Gather Tools and Cleanse Your Face
Before starting your facial massage, you’ll need to properly prepare your skin by gathering the right tools and creating a clean foundation. This crucial first step ensures your massage will be effective and promote glowing, healthy skin.
Begin by collecting your essential cleansing tools - a gentle, non-abrasive facial cleanser, lukewarm water, soft washcloth or clean hands, and a soft towel for drying. When selecting a cleanser, choose a product that matches your skin type and does not contain harsh alcohols. The face washing basics recommend using a mild formula that won’t strip your skin’s natural oils.
To cleanse effectively, follow these simple steps:
- Wash your hands thoroughly before touching your face
- Wet your face with lukewarm water
- Apply a small amount of cleanser using gentle fingertip movements
- Avoid aggressive scrubbing that could irritate your skin
- Rinse completely with lukewarm water
- Pat dry with a clean, soft towel
Maintaining a clean skin surface is critical before starting any facial massage technique.
Pro tip: Keep your cleansing tools clean and replace washcloths regularly to prevent bacterial buildup and potential skin irritation.
Step 2: Apply Recommended Massage Oils or Creams
Now that your face is clean and prepared, it’s time to select and apply the right massage oils or creams to enhance your facial massage experience. The right product will help your hands glide smoothly while providing additional skincare benefits.

When choosing your massage medium, consider essential oils for skin health. Look for products that offer multiple benefits, such as hydration, relaxation, and skin nourishment. Key considerations for selection include:
Here’s a quick overview of popular facial massage oils and their main skin benefits:
| Oil Type | Key Benefits | Best For |
|---|---|---|
| Jojoba Oil | Hydrates, balances oil | All skin types |
| Argan Oil | Nourishes, soothes irritation | Dry or sensitive skin |
| Rosehip Oil | Regenerates, brightens tone | Aging or dull skin |
| Coconut Oil | Moisturizes, antibacterial | Dry or rough skin |
| Grapeseed Oil | Lightweight, antioxidant rich | Oily or acne-prone skin |
- Skin type compatibility
- Non-comedogenic formulations
- Presence of beneficial ingredients like jojoba, argan, or rosehip oils
- Absence of harsh chemicals or potential irritants
To apply your chosen massage oil or cream:
- Warm a small amount between your palms
- Start with a light layer, adding more if needed
- Gently pat or press the product into your skin
- Ensure even distribution before beginning massage techniques
Proper oil selection can transform your facial massage from a simple routine to a luxurious skincare experience.
Pro tip: Test new facial oils on a small patch of skin first to check for any potential allergic reactions or sensitivities.
Step 3: Stimulate Pressure Points and Forehead
With your face prepared and oiled, it’s time to focus on releasing tension and promoting relaxation through targeted forehead pressure point massage. This technique helps reduce stress, improve circulation, and create a sense of overall well-being.
Learn about pressure points on the head to maximize your massage effectiveness. Key areas to focus on include:
- Third Eye Point: Located between the eyebrows
- Temple Points: Situated at the sides of the forehead
- Scalp Margin: Along the hairline
- Eyebrow Endpoints: Where eyebrows begin and end
To stimulate these pressure points:
- Use your index and middle fingers
- Apply gentle, circular motions
- Maintain light to moderate pressure
- Hold each point for 15-30 seconds
- Repeat the sequence 2-3 times
Consistent and gentle pressure can help release muscle tension and promote deep relaxation.
Pro tip: Breathe deeply and maintain a relaxed posture while massaging to enhance the overall therapeutic effect of your facial massage.
Step 4: Massage Cheeks, Jawline, and Chin
As you progress through your facial massage, targeting the cheeks, jawline, and chin becomes crucial for releasing tension and promoting a sculpted, relaxed appearance. These areas hold significant muscular complexity that can benefit tremendously from strategic massage techniques.
Understand the facial muscle anatomy to maximize your massage effectiveness. Key massage techniques for these areas include:
- Upward Cheek Strokes: Gently sweep from the corners of your mouth toward your cheekbones
- Circular Jawline Motions: Use light, circular friction along the jawline
- Chin Smoothing: Apply gentle upward strokes from the chin toward the ears
To perform the massage:
- Use your fingertips with light to medium pressure
- Move in consistent, smooth motions
- Follow the natural contours of your facial muscles
- Spend 30-45 seconds on each facial region
- Maintain gentle, consistent pressure throughout
Proper massage technique can help reduce muscle tension and improve overall skin appearance.
Pro tip: Keep your fingers relaxed and movements fluid to prevent creating additional tension in your facial muscles.
Step 5: Rejuvenate Eye Area and Finish with Neck
The final stage of your facial massage focuses on the delicate eye area and neck, two regions that significantly impact your overall skin appearance and youthful radiance. These areas require extra gentle and thoughtful attention to promote circulation and reduce signs of aging.
Learn about facial rejuvenation techniques to maximize your massage effectiveness. Key techniques for the eye and neck include:
- Under-Eye Circular Motions: Light tapping from inner to outer corners
- Eye Socket Pressure Points: Gentle circular massage around eye sockets
- Upward Neck Strokes: Smooth movements from collarbone toward jawline
- Lymphatic Drainage: Gentle sweeping motions to reduce puffiness
To perform the massage:
- Use your ring fingers around the eye area
- Apply minimal pressure to prevent skin stretching
- Move in consistent, soft motions
- Spend 20-30 seconds on each eye area
- Follow with gentle upward neck strokes
Careful attention to the eye and neck areas can dramatically improve skin texture and reduce visible signs of aging.
Pro tip: Always use a lightweight eye cream to provide additional hydration and reduce friction during your massage.
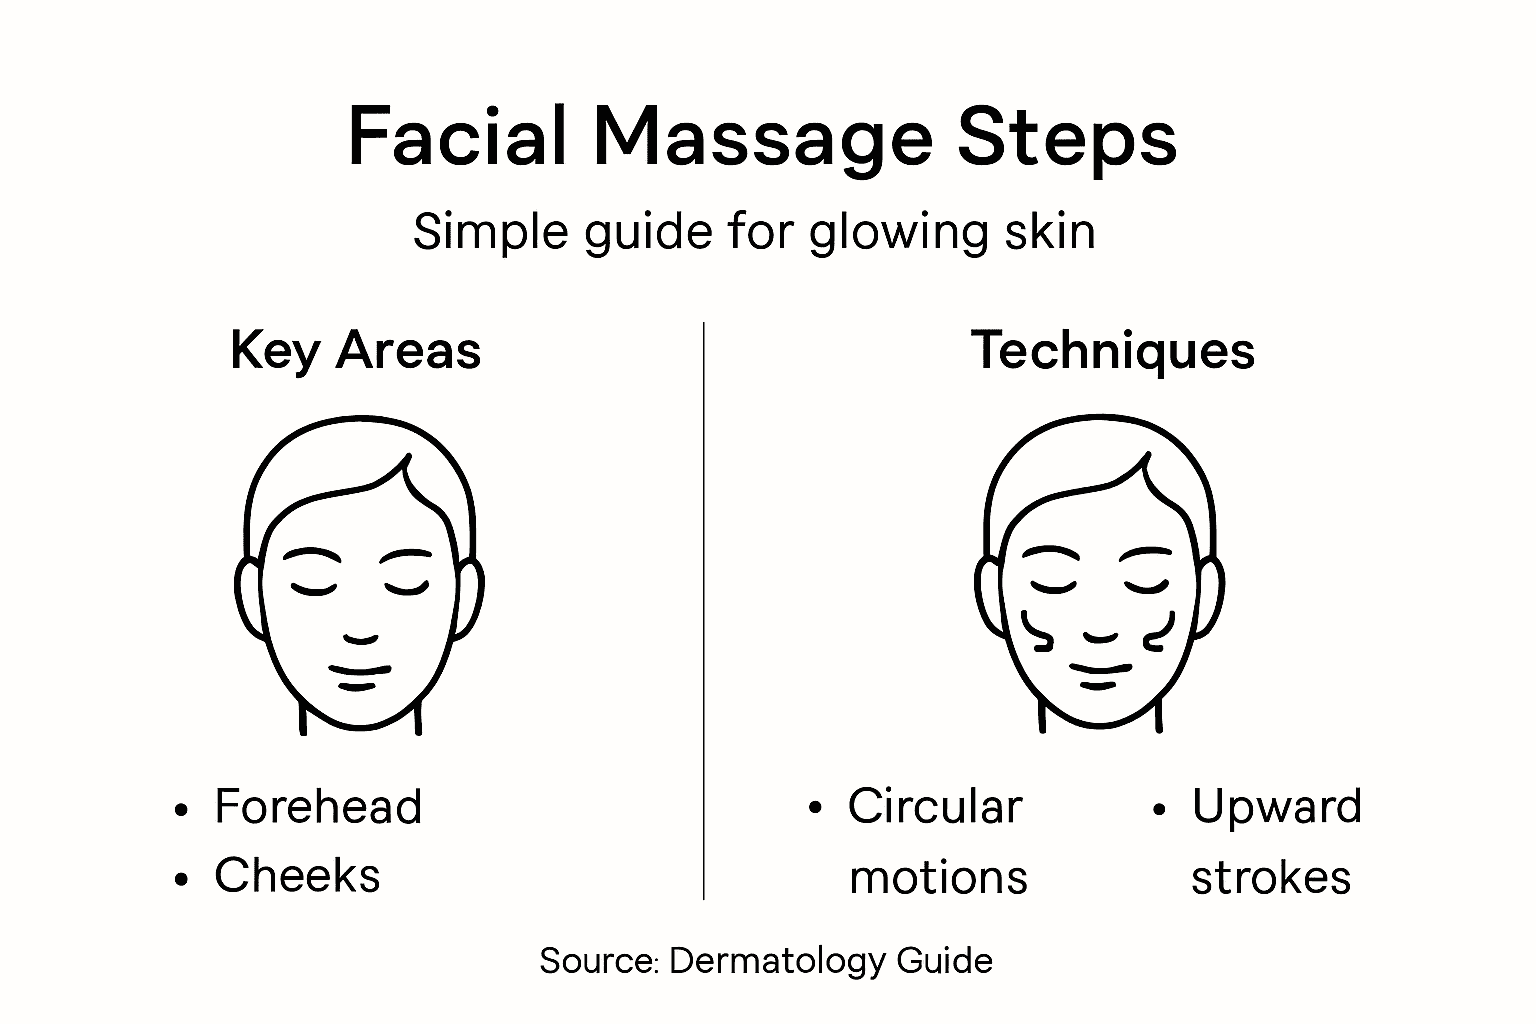
This table summarizes massage techniques for each facial area and their unique benefits:
| Facial Area | Technique Highlight | Main Benefit |
|---|---|---|
| Forehead | Circular pressure point | Eases tension, relieves stress |
| Cheeks | Upward gentle strokes | Boosts circulation, sculpts |
| Jawline & Chin | Circular jaw motion | Relaxes muscles, defines contour |
| Eye Area | Light tapping and circles | Reduces puffiness, soothes skin |
| Neck | Upward strokes | Promotes lymphatic drainage |
Discover the Perfect Products to Elevate Your Facial Massage Routine
Achieving glowing skin through a step-by-step facial massage requires the right foundation and products that work gently with your natural skin tone. If you are struggling to find effective cleansing options or moisturizers that complement your skin type and enhance your massage experience this is the moment to explore carefully selected skincare solutions. From choosing a gentle cleanser that purifies without stripping essential oils to selecting creams and gels that nourish and hydrate your skin for that radiant glow every dayFacial Cleansers – Skin Styles offers a variety of mild formulations designed to prepare your skin perfectly.

Get ready to transform your home facial massage into a luxurious skincare ritual by visiting Facial Creams & Gels – Skin Styles. Find products that help your hands glide smoothly while providing deep hydration and essential nutrients that support skin regeneration. Don’t wait to experience the benefits of a complete skincare routine supported by expert-selected products at Skin-Styles.com. Start your journey toward de-stressed, visibly healthier skin today by selecting your personalized skincare essentials now.
Frequently Asked Questions
How do I properly cleanse my face before a facial massage?
To cleanse your face effectively, wash your hands, wet your face with lukewarm water, and apply a gentle cleanser with light movements. Rinse thoroughly and pat dry with a clean towel to create a clean base for your massage.
What are the best oils or creams to use for a facial massage?
Choose oils or creams that match your skin type and offer benefits like hydration and nourishment. Popular options include Jojoba Oil for all skin types, Argan Oil for dry skin, or Rosehip Oil for aging skin.
How do I stimulate pressure points on my forehead during a facial massage?
Use your index and middle fingers to apply gentle, circular motions on key pressure points like the Third Eye Point between your eyebrows and the Temple Points on the sides of your forehead. Hold each point for 15–30 seconds to alleviate tension and improve circulation.
What techniques should I use for massaging my cheeks and jawline?
Use upward strokes along your cheeks and light circular motions along your jawline to relax the muscles and enhance facial contours. Spend 30–45 seconds on each area, maintaining smooth and gentle pressure throughout.
How can I rejuvenate the delicate eye area during my facial massage?
Gently tap from the inner to the outer corners of your eyes using your ring fingers, and apply soft circular motions around the eye sockets. Spend 20–30 seconds on each eye to promote circulation and reduce puffiness.
What should I focus on while massaging my neck to complete my facial massage?
Utilize upward strokes from your collarbone toward your jawline and incorporate gentle sweeping motions for lymphatic drainage. Spend 20–30 seconds focusing on the neck area to enhance relaxation and improve skin texture.