
Every American parent knows that one overlooked feeding accessory can put a baby’s health at risk. Babies are vulnerable to dangerous germs hiding on bottles and nipples, making strict hygiene non-negotiable worldwide. Expert-approved cleaning and sanitization routines lower infection rates and bring peace of mind to families in every country. Discover the practical steps you can use to create a safe mealtime environment, safeguard your little one’s wellbeing, and reduce stress during those busy feeding hours.
Table of Contents
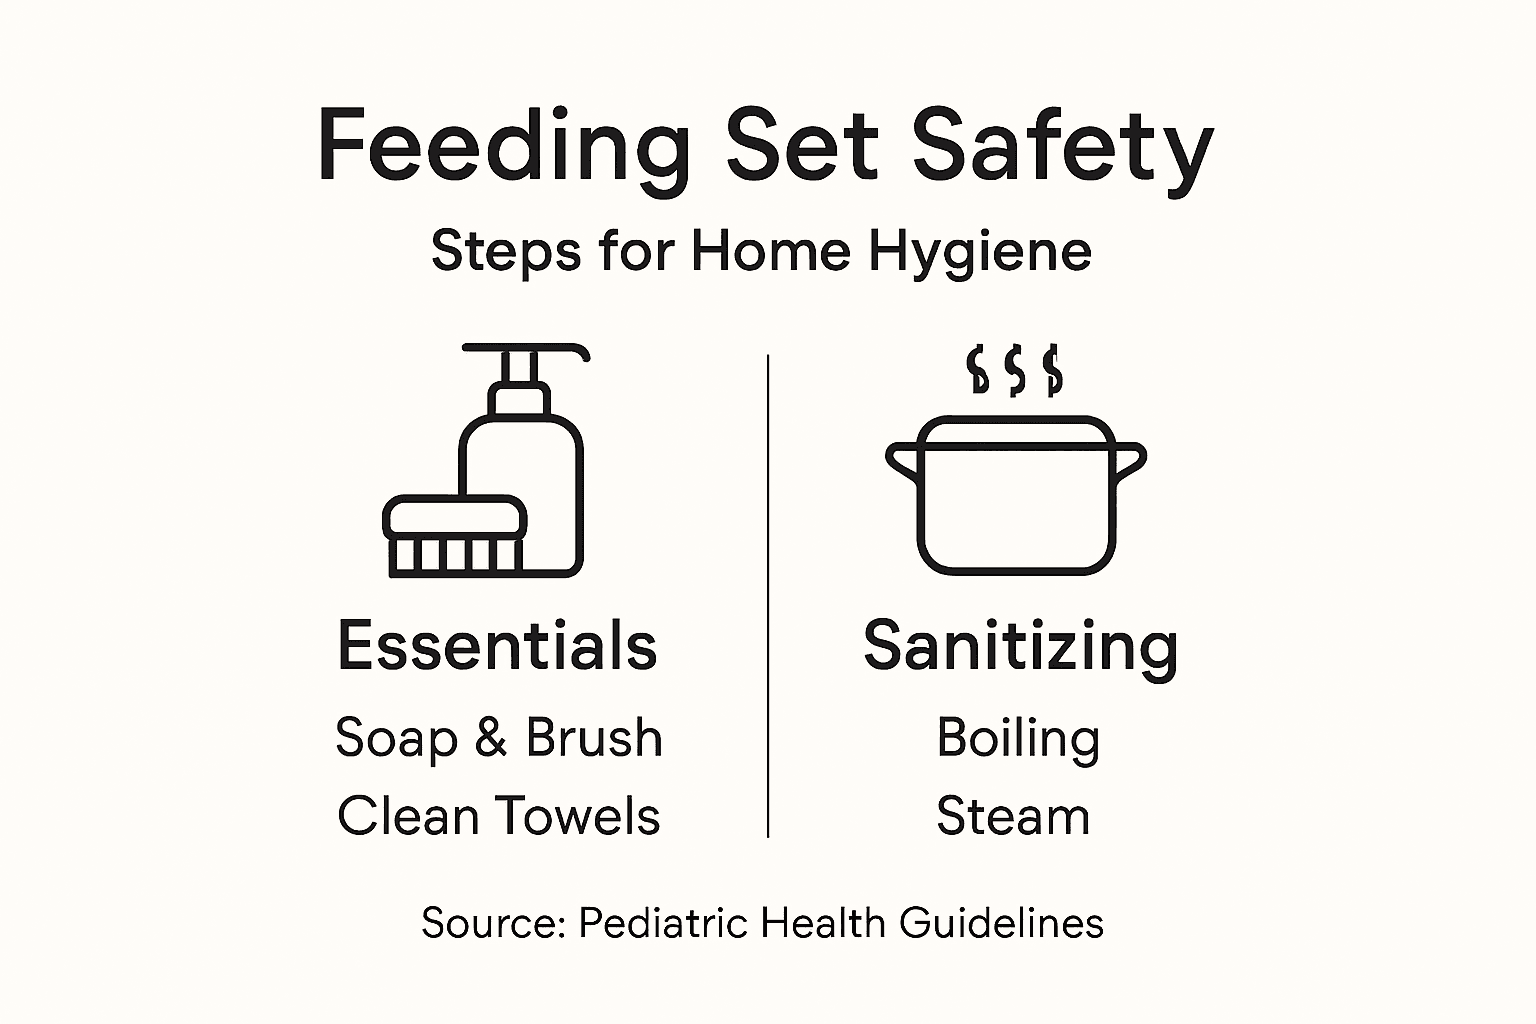
- Step 1: Gather Cleaning Supplies For Feeding Sets
- Step 2: Wash All Feeding Set Components Thoroughly
- Step 3: Sanitize Items To Eliminate Germs
- Step 4: Dry And Store Sets In A Clean Area
- Step 5: Inspect Feeding Sets Before Use
Quick Summary
| Key Point | Explanation |
|---|---|
| 1. Use the Right Cleaning Supplies | Gather mild dish soap, warm water, bottle brushes, and sterilization tools for effective cleaning of feeding sets. |
| 2. Thoroughly Wash Every Component | Disassemble all parts, rinse immediately, and scrub each piece with soap and water to prevent bacterial growth. |
| 3. Sanitize Regularly | Use boiling water, steam sterilizers, or chemical tablets for sanitization to eliminate harmful microorganisms. |
| 4. Ensure Proper Drying and Storage | Use a clean drying rack and store feeding sets in a sealed container to prevent contamination. |
| 5. Inspect Equipment Before Each Use | Check for wear, cracks, or any foreign particles to ensure safety before feeding your baby. |
Step 1: Gather Cleaning Supplies for Feeding Sets
Preparing the right cleaning supplies is crucial for maintaining your baby’s feeding set hygiene. You will need a comprehensive set of tools to ensure thorough cleaning and sterilization of all feeding equipment.
Start by collecting key cleaning materials including mild dish soap, warm water, a dedicated bottle brush, clean towels, and sterilization equipment. Detailed cleaning guidelines recommend disassembling all feeding set components before washing. Your essential toolkit should include specialized bottle brushes designed to reach narrow spaces inside bottles and nipples, preventing bacterial buildup. Choose a brush with soft bristles that can clean without scratching delicate surfaces.
Additionally, select a sterilization method that works best for your household routine. Options include boiling water, electric steam sterilizers, or chemical sterilizing tablets. Each method has unique advantages depending on your time availability and kitchen setup. Select materials that are food-safe, pediatrician recommended, and compatible with your specific feeding set materials.
Pro tip: Keep a dedicated cleaning station with all your feeding set hygiene supplies organized in one easily accessible location to streamline your cleaning process.
Step 2: Wash All Feeding Set Components Thoroughly
Thoroughly washing your baby’s feeding set components is a critical step in maintaining proper hygiene and preventing potential health risks. This process requires careful attention to detail and systematic cleaning of every single part.
Begin by comprehensive cleaning of feeding equipment which means completely disassembling each component. Remove bottle nipples, rings, caps, and any removable parts. Rinse these pieces immediately after use with warm water to prevent milk or formula residue from drying and becoming harder to clean. Use a specialized bottle brush with soft bristles to scrub inside bottles and nipples, paying special attention to hidden crevices where bacteria can multiply.
Each component requires individual washing with mild dish soap and warm water. Scrub gently but thoroughly, ensuring no visible residue remains. Rinse each piece multiple times under running water to remove all soap traces. Scientific research indicates that hand hygiene during equipment handling is crucial, so always wash your hands before and after cleaning feeding equipment to prevent potential cross contamination.
Pro tip: Create a dedicated drying rack or clean towel area specifically for feeding set components to ensure they air dry completely before reassembly.
Step 3: Sanitize Items to Eliminate Germs
Sanitizing your baby’s feeding equipment is an essential step that goes beyond basic cleaning to ensure absolute safety and protection against harmful microorganisms. This critical process eliminates potential pathogens that could compromise your child’s health.
Effective sanitization methods include multiple approaches such as boiling, using steam sterilizers, or chemical sterilizing tablets. Boiling remains one of the most reliable techniques. Submerge all washed components in rapidly boiling water for approximately five minutes, ensuring complete coverage. If using a steam sterilizer, follow manufacturer instructions carefully, typically running the cycle for 5 to 10 minutes depending on the specific model.
Scientific protocols for disinfection and infection control emphasize that thorough cleaning must precede sanitization. For newborns or infants with compromised immune systems, sanitize feeding equipment at least once daily. Chemical sterilizing tablets offer an alternative method effective for travel or when boiling is inconvenient. Always ensure complete air drying of components after sanitization to prevent bacterial growth and moisture retention.
Here’s a comparison of common sterilization methods for baby feeding sets:
| Sterilization Method | Time Needed | Equipment Required | When This Method Excels |
|---|---|---|---|
| Boiling Water | 5 minutes | Large pot, stove | At home, simple kitchen setup |
| Electric Steam Sterilizer | 5-10 minutes | Electric sterilizer unit | Daily routine, quick and hands-off |
| Chemical Sterilizing Tablets | 15-30 minutes | Tablets, cold water container | Traveling, limited kitchen access |
Pro tip: Keep a dedicated timer near your sanitization area to ensure precise sterilization times and consistent germ elimination.
Step 4: Dry and Store Sets in a Clean Area
Successfully drying and storing your baby’s feeding set is the final critical step in ensuring complete hygiene and preventing potential bacterial contamination. Your goal is to create a pristine environment that protects the cleaned and sanitized equipment.
Proper drying techniques require using a dedicated drying rack reserved exclusively for baby items. Place each component separately to allow maximum air circulation and complete moisture evaporation. Ensure the drying rack is positioned in a clean area away from potential contaminants like raw food preparation spaces or high traffic kitchen zones.

Scientific protocols for food contact equipment storage emphasize the importance of thorough drainage and complete drying before storage. Select a designated clean storage container with a tight fitting lid to protect feeding set components after they are completely dry. Avoid storing items while any moisture remains, as this can encourage bacterial growth. Inspect the storage area regularly to maintain cleanliness and prevent dust or potential contaminants from compromising your carefully cleaned feeding equipment.
Pro tip: Label your baby feeding set storage container with the date of cleaning to track hygiene cycles and ensure consistent replacement of stored items.
Step 5: Inspect Feeding Sets Before Use
Before each feeding, a thorough visual inspection of your baby’s feeding equipment is crucial to ensure safety and prevent potential health risks. This final quality check serves as your last line of defense against contamination or equipment malfunction.
Comprehensive equipment inspection requires carefully examining every component of the feeding set for potential issues. Look closely at bottle nipples for any signs of wear such as cracks, thinning, or discoloration. Check all seals and connections to confirm they remain intact and will create a proper seal during feeding. Pay special attention to areas that might trap moisture or residue, which could harbor bacterial growth.
Scientific protocols for feeding equipment maintenance recommend examining each piece against bright light to reveal potential microscopic damage. Verify that threads on bottle caps align correctly, nipples fit securely, and no foreign particles are present. If you notice any irregularities such as rough edges, small tears, or unusual odors, replace the component immediately to maintain highest hygiene standards.
Below is a summary of key inspection points before each feeding:
| Component | What to Check For | Why It Matters |
|---|---|---|
| Bottle Nipple | Cracks, discoloration | Prevent leaks, ensure safety |
| Bottle Cap | Seal integrity | Avoid spills, maintain hygiene |
| Bottle Body | Foreign particles, clarity | Ensure cleanliness, prevent ingestion |
| Threads/Screw Ring | Proper alignment | Secure assembly, no leaks |
Pro tip: Keep a spare set of feeding components ready so you can quickly replace any equipment that fails your inspection.
Keep Your Baby’s Feeding Sets Safe and Spotless with Trusted Solutions
Maintaining impeccable hygiene for your baby’s feeding equipment is an essential task that demands the right tools and products. From thorough cleaning and sanitizing to proper drying and storage, every step matters to protect your little one from harmful germs and bacteria. Struggling with safely sterilizing or finding reliable accessories can add stress to already busy parents. That is why having quality products designed for baby care can make all the difference.

Discover carefully selected items at Skin Styles that support your baby’s health and feeding safety. Explore our Other Products – Skin Styles collection for essential feeding set components and cleaning supplies to enhance your daily routine. Act now to create worry-free mealtimes by ensuring every feeding set component is hygienic and ready for use. Visit Skin Styles today and give your baby the care they deserve.
Frequently Asked Questions
How do I properly clean my baby’s feeding set?
To clean your baby’s feeding set thoroughly, disassemble all components and rinse them with warm water immediately after use. Use mild dish soap and a dedicated bottle brush to scrub each piece, then rinse multiple times to remove soap residue before drying.
What are the best sanitization methods for feeding equipment?
Common sanitization methods for feeding equipment include boiling water, electric steam sterilizers, and chemical sterilizing tablets. Choose a method based on your routine; for boiling, submerge components in rapidly boiling water for about five minutes to ensure they’re germ-free.
How should I dry and store my baby’s feeding set?
After cleaning and sanitizing, place each component on a dedicated drying rack to ensure they dry completely without contact with contaminants. Store the dry items in a clean, airtight container in a dry area to maintain hygiene and prevent bacterial growth.
What should I inspect before using my baby’s feeding equipment?
Before each feeding, check all components for cracks, discoloration, or foreign particles. Ensure that all seals and connections are intact to avoid leaks and ensure safety during use.
How often should I sanitize baby feeding equipment?
Sanitize feeding equipment at least once a day to eliminate harmful pathogens, especially for newborns. If your baby has a compromised immune system, consider sanitizing each time before use for extra safety.